To determine the quality of a pressure reducing valve, you can follow these simple steps:
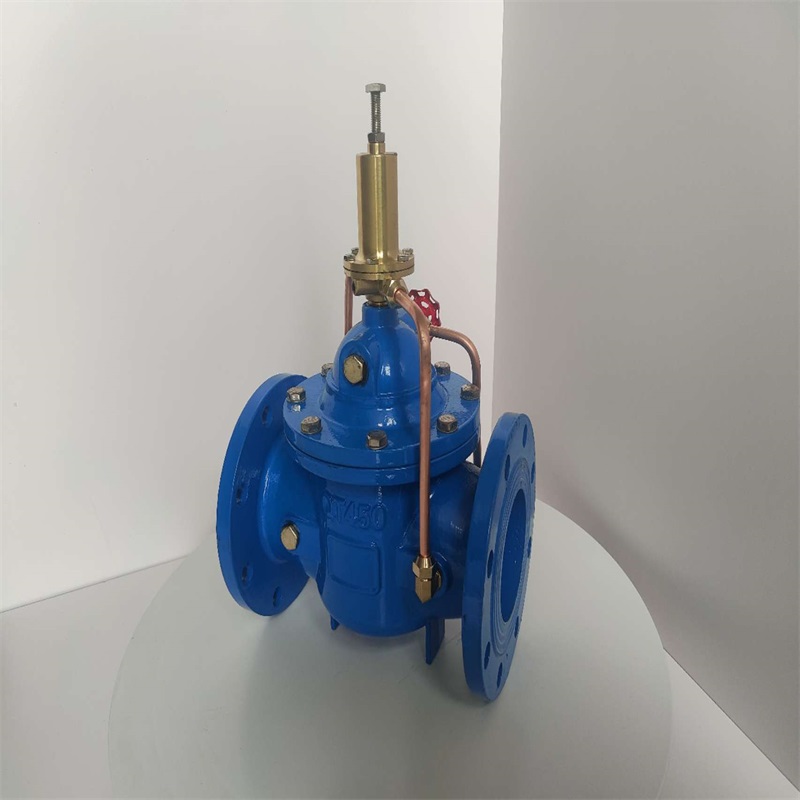
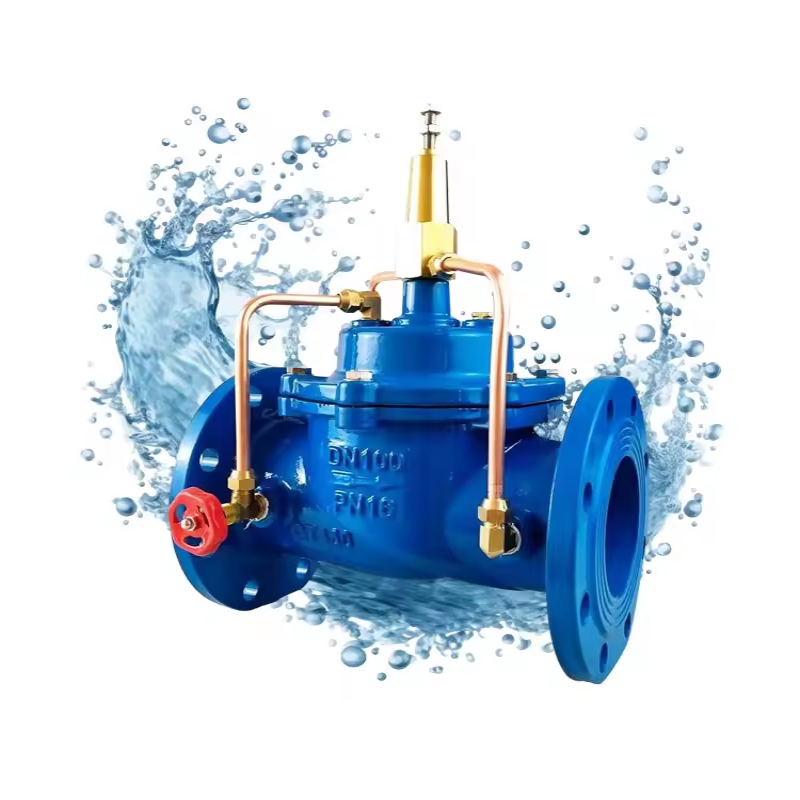
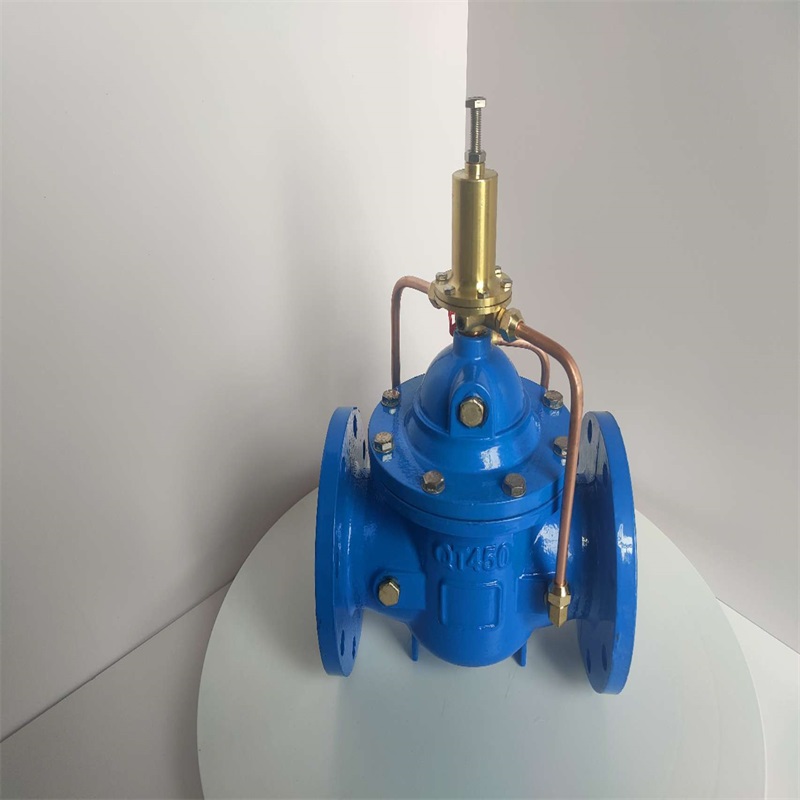
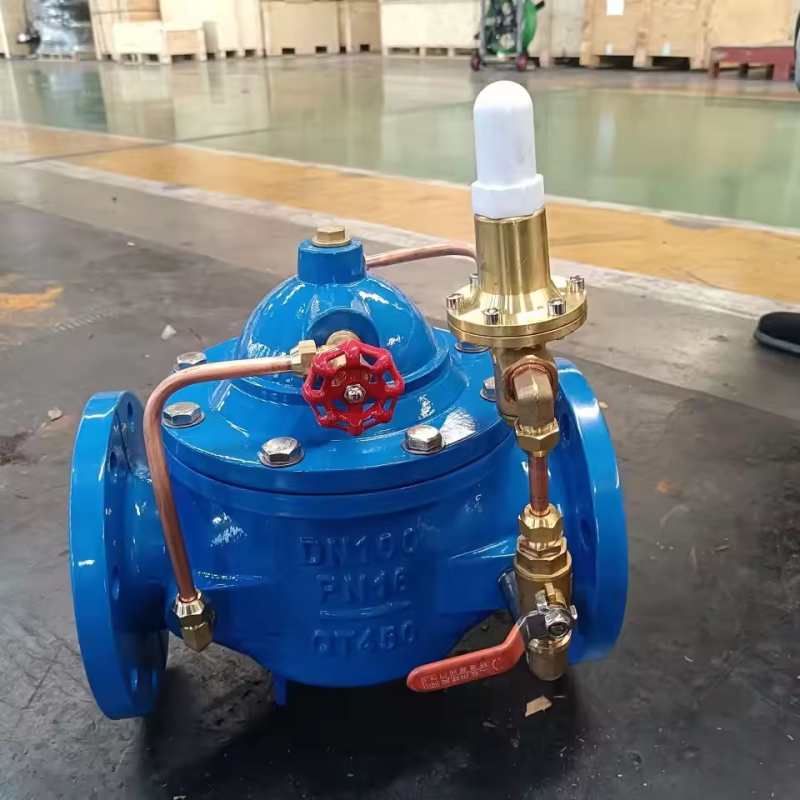
1.Visual Inspection: Check the exterior of the valve for any obvious damage or corrosion, such as deformations, cracks, or rust. If any of these are present, replacement may be necessary.

2.Test for Sealing: Close the inlet and open the outlet. Gently press your finger over the outlet of the pressure reducing valve to check for any gas leakage. If there’s noticeable leakage, it indicates a sealing issue that requires repair or replacement.
3.Check Regulation Function: Open the inlet and supply air to the valve. Observe if the outlet pressure remains stable around the set value. If the pressure cannot stabilize at the set point, the valve may need adjustment or repair.
4.Measure Pressure Deviation: Use a pressure gauge to measure the outlet pressure of the valve and compare it with the set value. If there’s a significant deviation, adjustments or replacement may be required.
5.Inspect Condensate Drainage: Since pressure reducing valves can produce condensate during use, check the outlet for proper drainage of any condensed water.
6.Regular Maintenance and Inspection: Regularly clean, lubricate, and inspect the valve to ensure its smooth operation.
If you’re unsure or need a professional assessment, it’s recommended to consult with a technical expert or have the valve inspected by a professional.